Today I want to talk to you about terraform, this open-source tool that allows us to define, preview and deploy infrastructure on a multitude of cloud providers such as Azure, AWS, and google, using the HashiCorp Configuration Language (HCL).
In this post, I want to show you how to install Terraform on your Windows system and how to configure it to allow resource manipulation in an Azure subscription.
Prerequisites
- This tutorial assumes that you already have a Microsoft Azure account configured.
Installing Terraform
To install Terraform, you should perform the following steps.
- Download the appropriate package for your operating system, check out this link.
- Unzip and copy the single executable file (terraform.exe) into a separate install directory (for example, inside c:\terraform).
- Set the path environment variable with the path to the install directory.
- Run the command sysdm.cpl and in the Advanced tab, click on Environment variables.
- Scroll down in system variables until you find PATH and click edit.
- Add the installation directory of Terraform (c:\terraform).
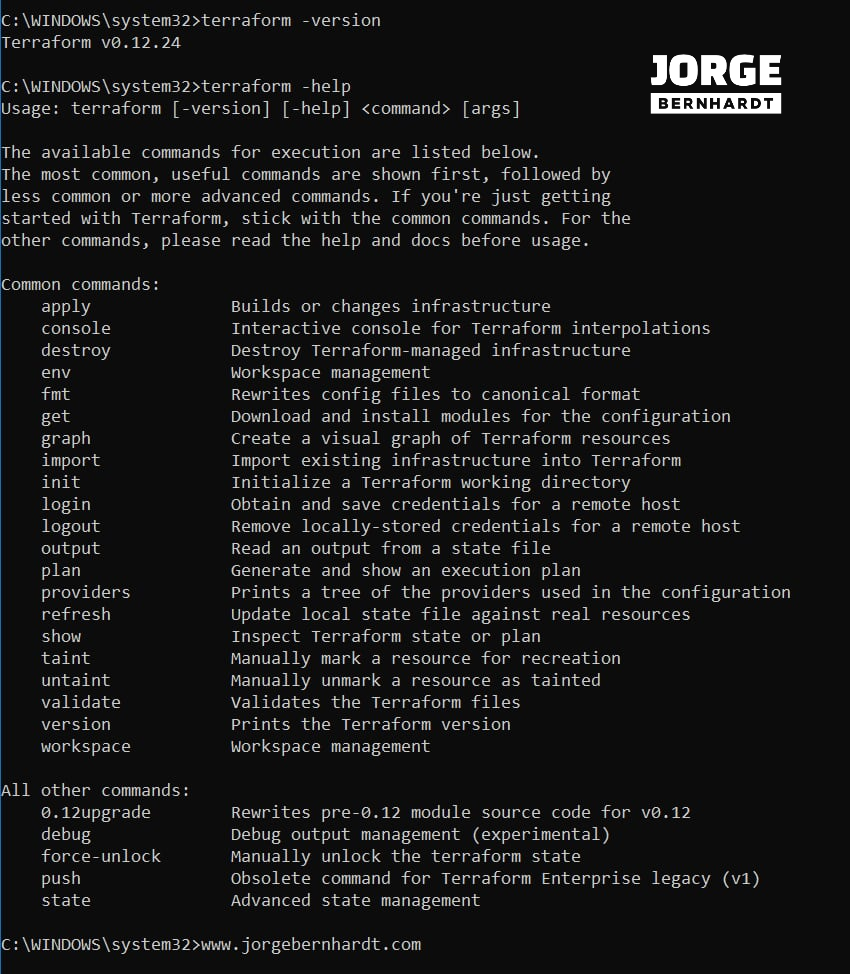
- Verify the installation, you can check the Terraform version by running the following command.
Create an Azure service principal
To enable Terraform to provision resources into your Azure subscription, you should first create an Azure service principal (SP) in Azure Active Directory. This Azure SP grants your Terraform scripts to provision resources in your Azure subscription.
Next, I will show you how to create an Azure SP using Azure CLI.
Azure CLI Workaround
In this case, we will use Azure Cloud Shell, a browser-based shell built into the Azure Portal, which can be used from https://shell.azure.com. This allows us to use the Azure command-line tools (Azure CLI and Azure PowerShell) directly from a browser.
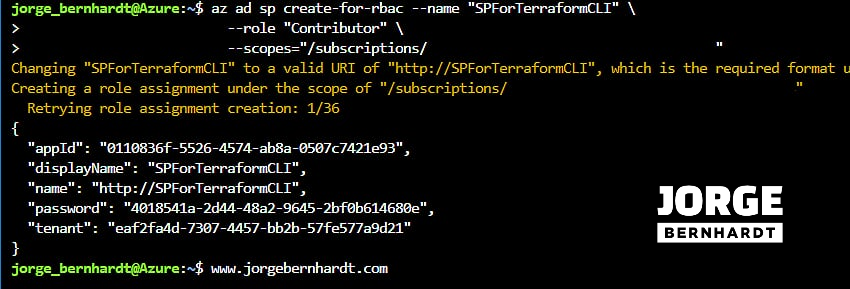
To create the service principal, use the following command.
Configure the terraform provider
Once the Azure SP has been created, you are ready to create your first terraform file. You must create the file “provider.tf” in your working directory, where you must indicate the provider you will use and the authentication information.
Important: For security reasons, it is not recommended to put identifying information in code in a production environment. This information may be accessible by other people. For production environments, I will show you in future posts how to use environment variables and manage secrets.
In the next post, I will show you how to create Azure resources using Terraform.
Thanks for reading my post. I hope you find it useful.
If you want to know more about Terraform on Azure, check out this link: https://docs.microsoft.com/en-us/azure/terraform/